Add products by adding codes


4X2,5M TUNNEL WHITE HOUSE 3 SECTION

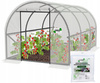
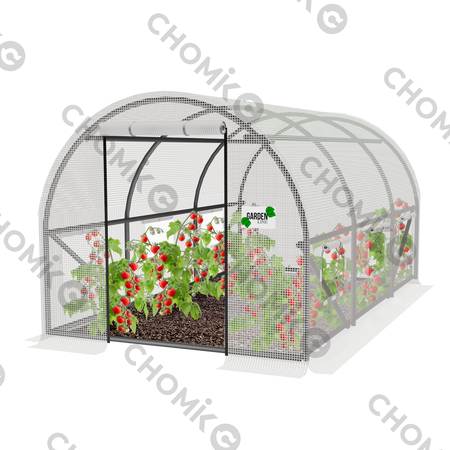
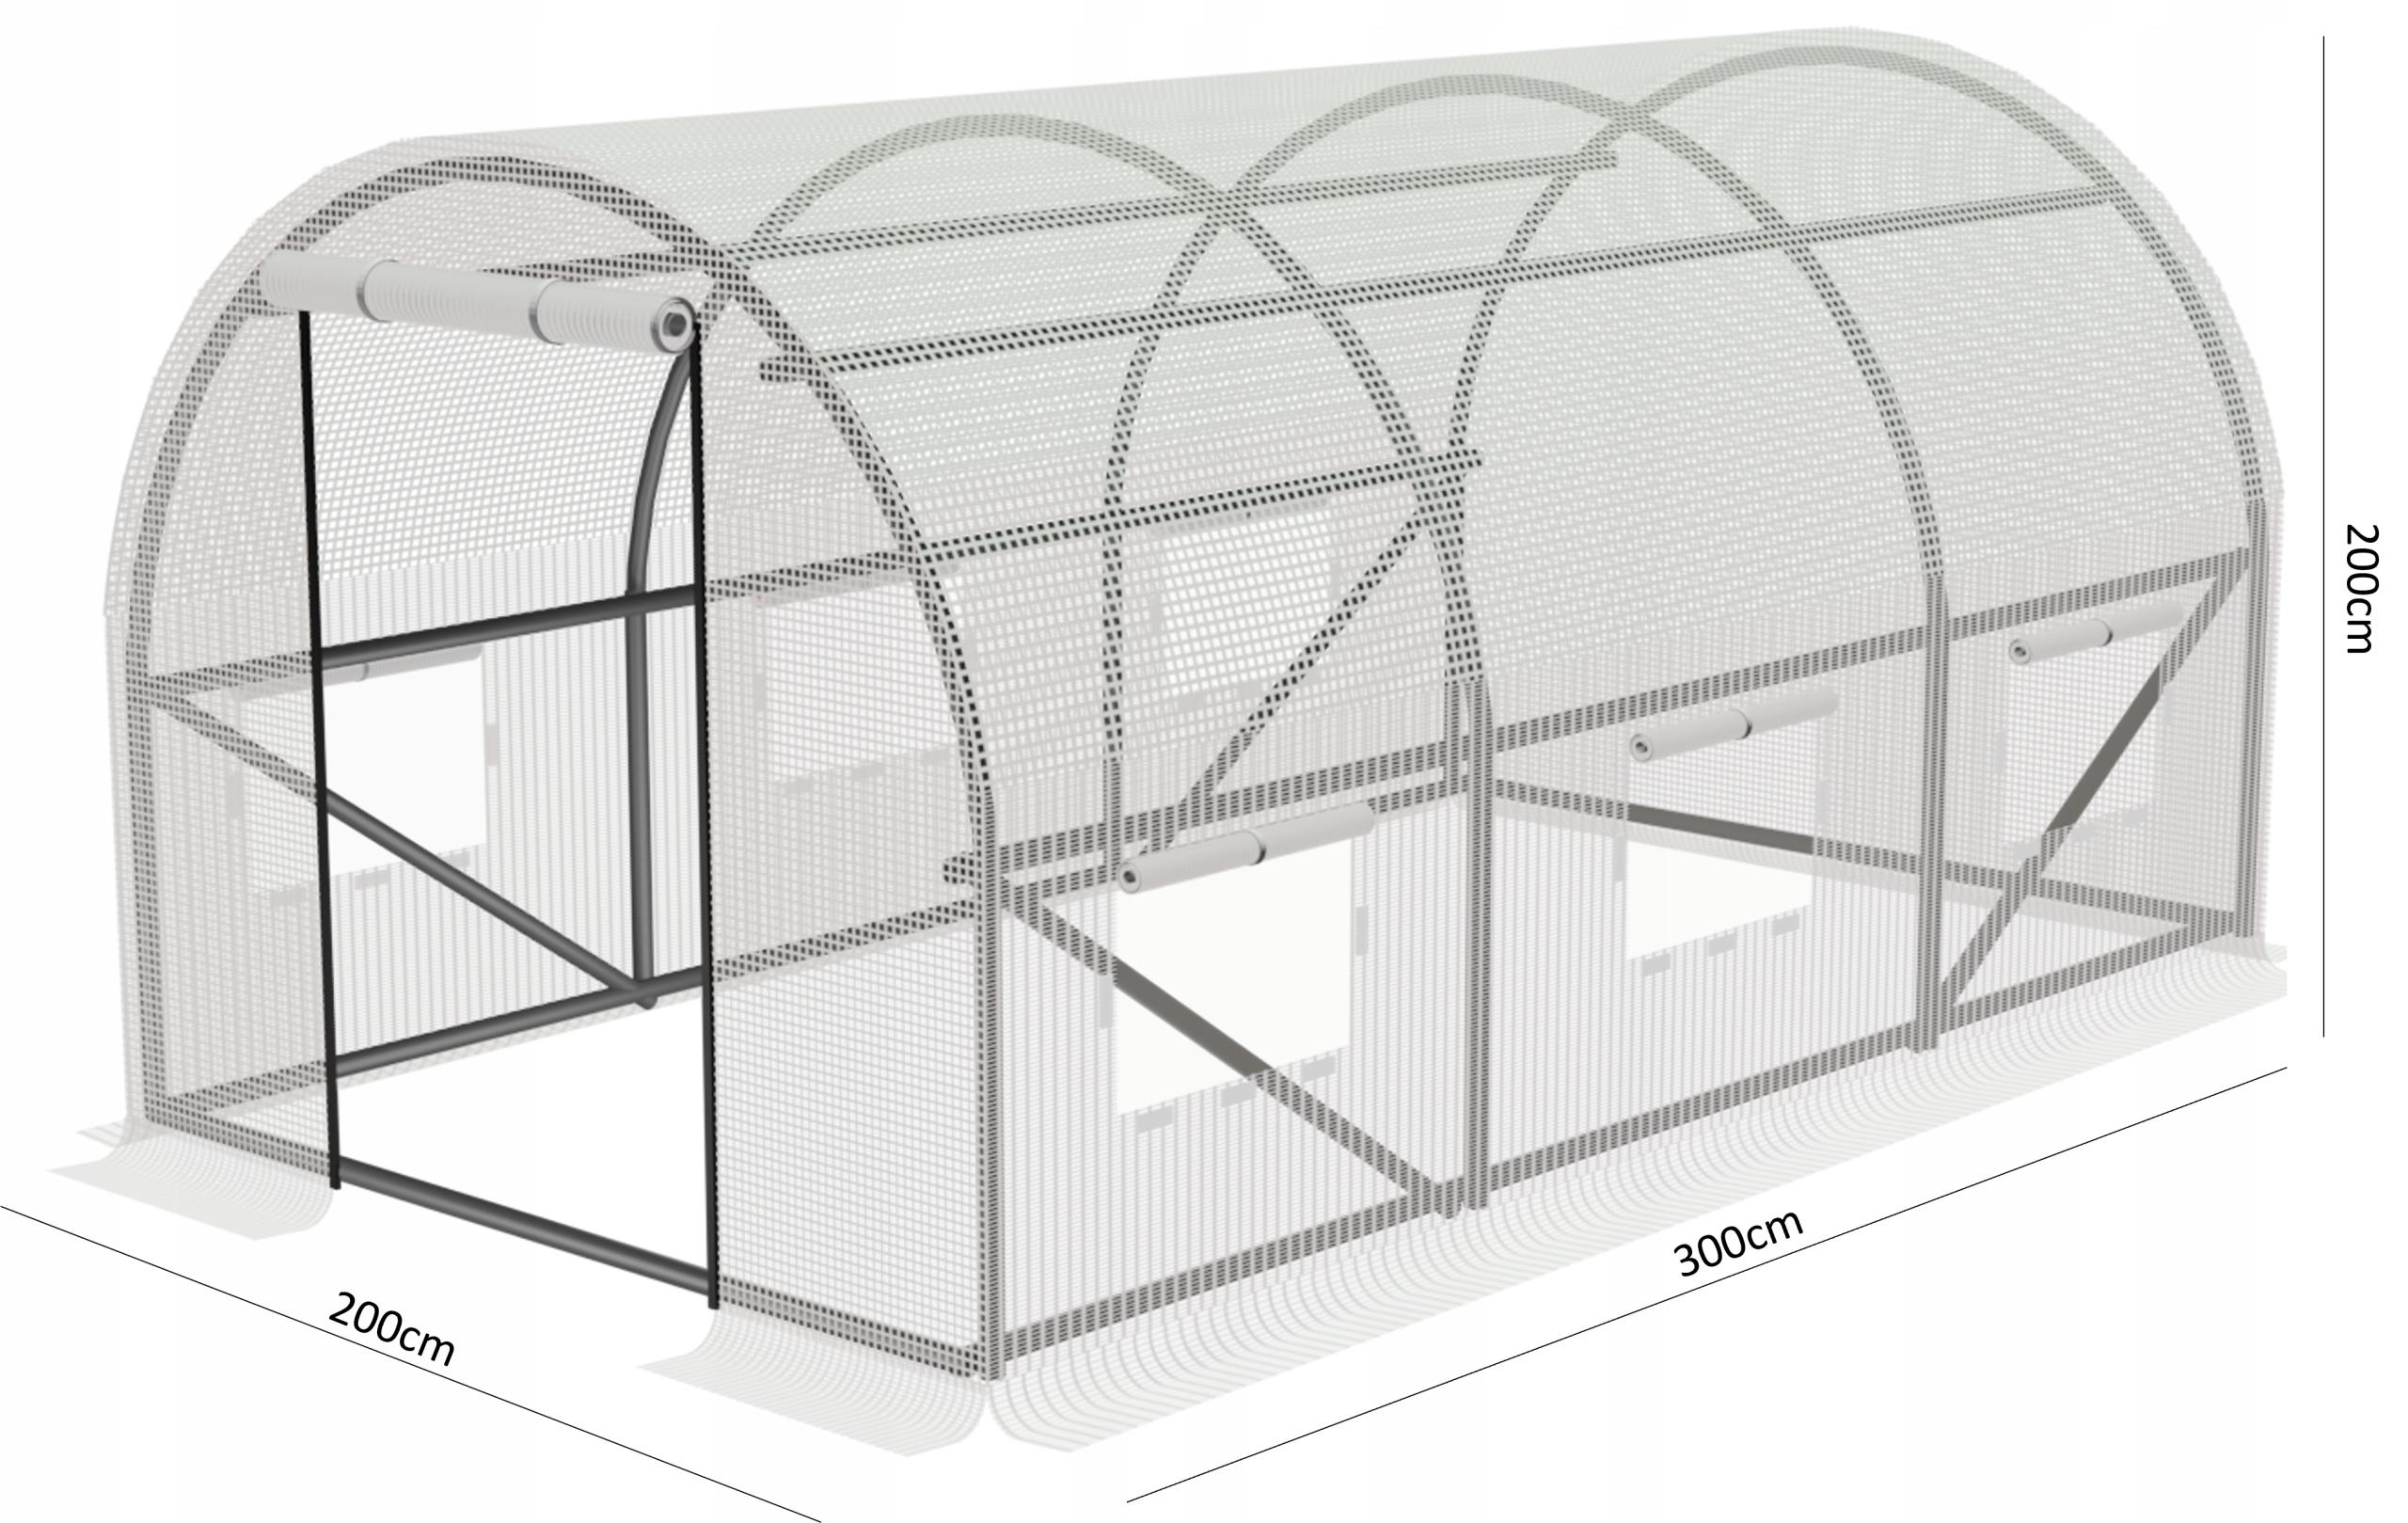
GARDEN TUNNEL 4m x 2.5m x 2m
3 SEGMENTS

GARDEN TUNNEL 4m x 2.5m x 2m
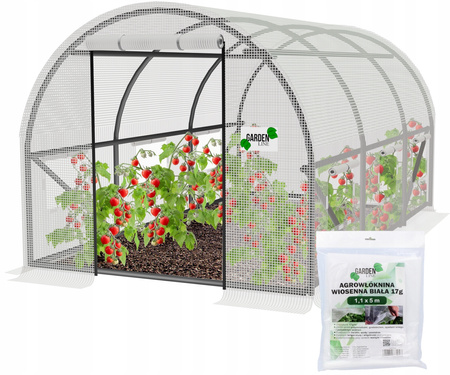
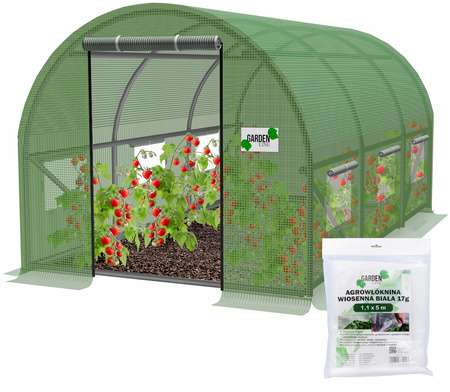
The complete garden tunnel perfectly protects your plants and crops from unfavorable weather conditions or pests. It is a fantastic proposal for gardening enthusiasts.
The film tunnel will accelerate and improve the yield of crops and create the right microclimate for your plants and crops.
Why is it worth it?
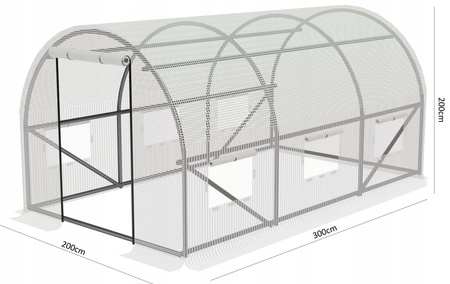
- Tunnel dimensions:4m x 2.5m x 2m (+/- 5cm)
- Door dimensions:80x180cm
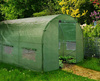
- Material :PE film 140g/m² with UV4 filter
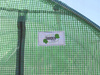
A white PP mesh embedded in the film coating protects against tearing
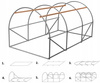
- Galvanized metal frame
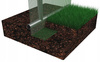
- Earth collar to be buried in the ground
- Windows with Velcro and mosquito nets
- Wide rolling doors secured with a zipper
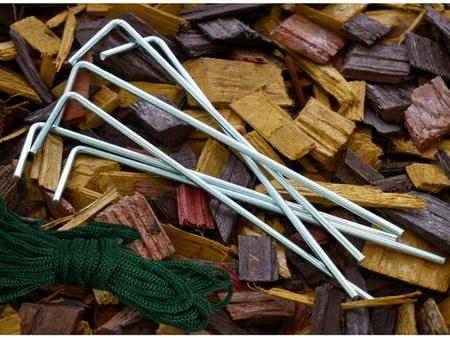
- Fastening set for the ground
- Clear instruction manual in Polish
- Weather resistant

✅We are the owner of the GARDEN LINE brand!
- Every product we offer is new and has a logo
- A reliable seller always means safe shopping!
✅PE film 140g/m² with UV4 filter
- PP mesh embedded in the film coating protects against tearing

✅Stable frame connected with screws
- Fully galvanized with plastic caps
- Tube: 25x0.7mm
✅Doors secured with a zipper
- Allow quick and easy access to the inside of the tunnel
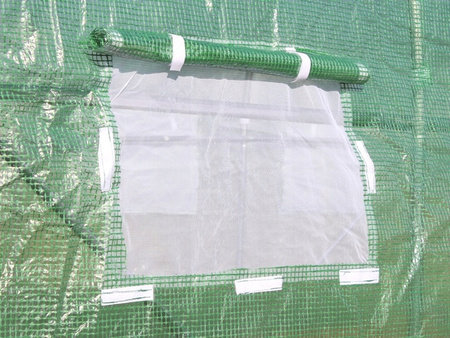
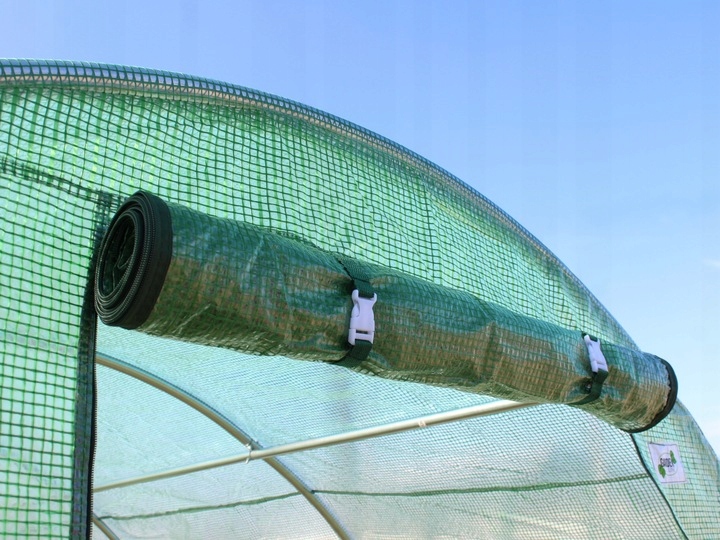
✅Rolling doors and windows
- Secured with a solid strap. Windows equipped with mosquito nets.

✅Windows with mosquito nets
- Windows ventilate the interior of the greenhouse perfectly
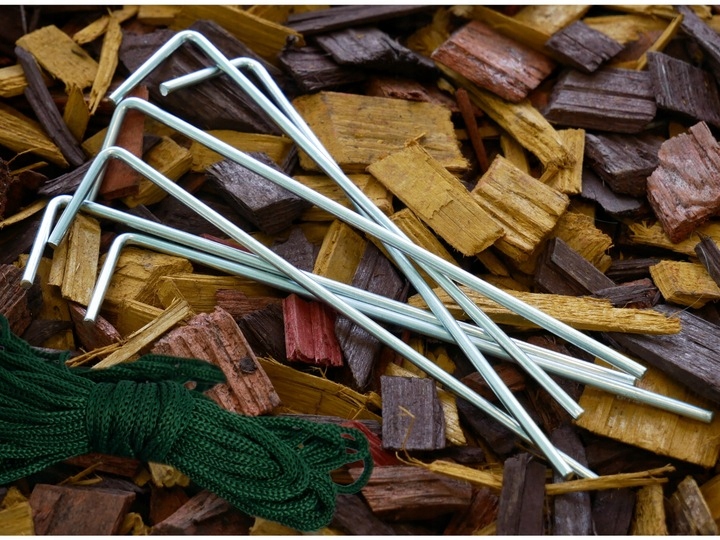
✅Complete set of anchors
- Strengthens the tunnel structure.
✅String connected directly to the frame using straps
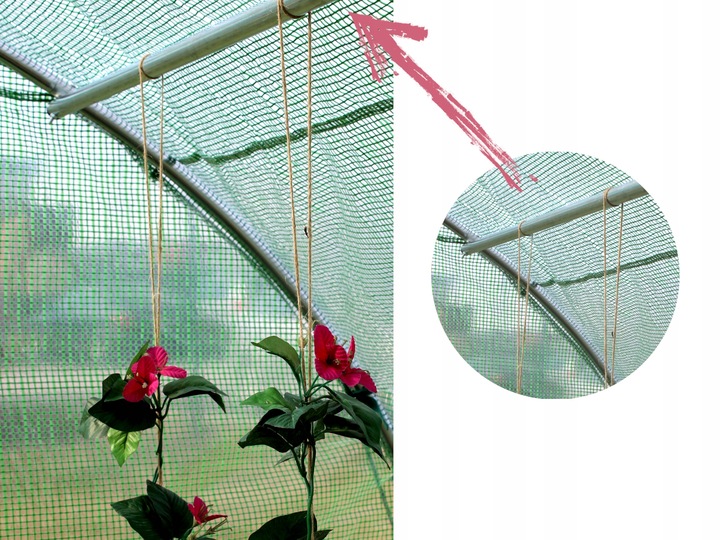
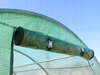
✅Additional 2 tubes for climbing plants
- The tunnels have a function for hanging strings for plants such as tomatoes, peas, or asparagus.
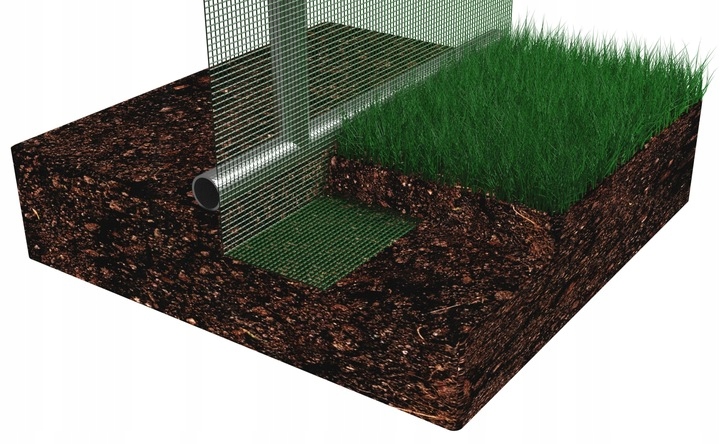
✅Lower collar for covering with soil
- Prevents unwanted pests from entering and stabilizes the structure.

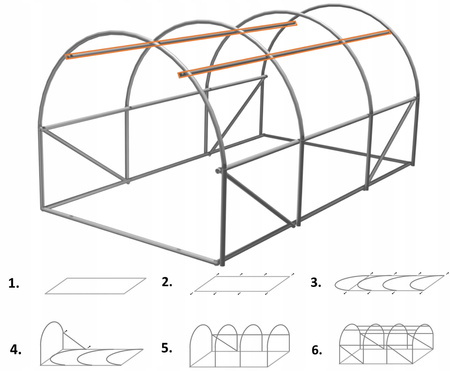
Our tunnels are equipped with 2 additional upper tubes that ensure stability and allow for the tying of strings for climbing plants.
Step 1. Lay out the base elements as described in the instruction manual
Step 2.Install the screws in the holes and tighten them slightly, so they do not resist. Do not tighten them completely
Step 3.Connect the tubes into arches. Secure the built parts to the previously installed screws from step "2"
Step 4. Stand the first arch vertically and secure it with a diagonal tube.
Step 5. Raise all arches, connecting them with the upper crossbar. Still, do not tighten all screws completely.
Step 6. Install the remaining crossbeams and diagonal tubes. When all parts are assembled, you can tighten the screws fully. Put on the film and secure the tunnel in the ground.
If strong gusts of wind occur in your area, or if the greenhouse is to be located in an open space, it is worth securing it with additional anchors to the ground, e.g., with metal rods.
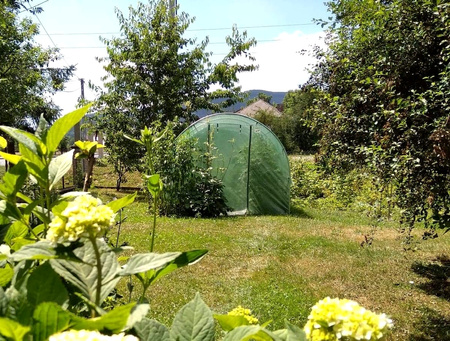
PHOTO GALLERY
Some of them sent by satisfied customers!


Product code: TUN5590